
Models and explanations Page: 1 2 3 4 5 6 7
Here on this side I want to explain, how I made my models.
On the following sides I will show some of my models and explain the particularities.
I saw ( some years ago )in an English magazine about computer art, that you
can do things like that with Bryce.
From that time on I tried it myself. And I liked it very much.
To see the developing of the models in Bryce is really nice.
I use Bryce, Poser and Ray Dream Studio for the 3D part of my pictures.
Photo Paint and Corel Draw for the rest.
The main program I used to make my models is Bryce.
In Bryce you have a terrain editor. This editor is interpreting gray scales.
White is up and black is down. The rest is between this two extremes.
So if I take a white square I will get a cube. If I place a smaller black square
on the white one, I get a hole in the cub.
If I place a gray blending on the side of the white square I will get a slanting at the side of the cub.
And so on.
The problem is, you have to put all the gray scales in the right positions.
You can do it with a photo editing program like Photo Paint or with Corel Draw.
If I have more time I will explain some techniques with Corel Draw.
 |
|
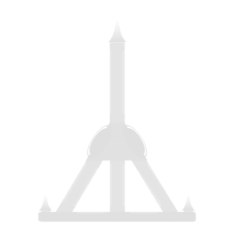
For a better understanding I show you here picture from the side of the
mirror.
|
Simple things like a cub or a cross, you can do very fast.
For the more complex things you need some exercise in Corel Draw.
On my download page I have a simple
terrain model with a blending map ( a wall ) for you.
I think it will show you the theories better.
Below some of my models will follow and I will explain the particularities.
You can follow the pages one after the other, or go back to the thumbnail
pictures to choose the models directly.
|
Models made with the terrain editor from Bryce |